
In this tutorial you'll learn how to use the UIScrollView component in Swift. In this simple example you'll see how to properly define the UIScrollView and the required constraints into the storyboard, in order to have a working UIScrollView.
Here is the example that you'll see. Inside the UIScrollView there are two components: an UIImageView and an UILabel.

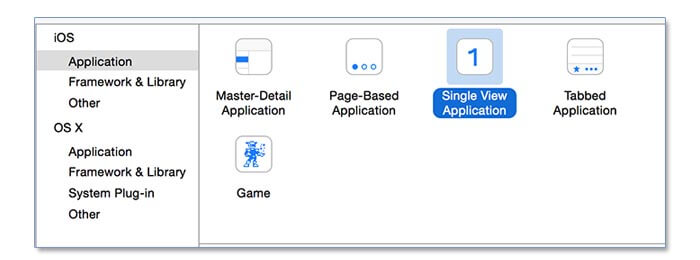
Let's start this tutorial by creating a new swift ios single view application.
Open the Main.Storyboard, select the default View Controller, and under the file inspector section turn the use size classes feature off.
iOS UIScrollView definition
Add now the UIScrollView component and set the top/left/right/bottom constraints.

Put inside the UIScrollView component an UIView component and add the top/left/right/bottom constraints.
UIScrollView content definition: let's add the UIImage and the UILabel
Now it's time to add the content inside the UIView. We'll add an UIImage component and an UILabel component inside it.
Set the constraints for the UIImage componets. In this case I'll set a X center position, a fixed width and height and a fixed top margin.
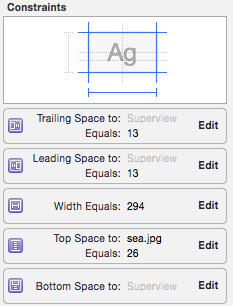
Below it place the UILabel component. Be sure to set, under the attribute inspector, a number of lines equal to 0. In this way all the text will be displayed properly. Set now the constraints. I've put in this example a trailing and leading constraints (left/right) and a top margin from the above UIImageView component. Put also a bottom constraint to the Superview equal to 0 (or more if you want to scroll more). This let the UIScrollView to scroll properly .


Leave a comment