
Photoshop is a great tool that allows you also to make icons. Today in this article icon in photoshop: how to make icons you'll discover how to make icons in photoshop with a simple and effective example.
Here is the icon that we'll obtain:

The first step to make icons with photoshop is to create a new photoshop document and to set its size: File, New. Now a window where you can fill the width and height properties will popup. In this example we'll use a size of 500x500 pixels with a resolution of 72 dpi. In the case of icons is very important to start with a big size image that have then be be resized. This is very important because allows you to have a manageble workspace. Now you can press the shape button and the rounded rectangle.
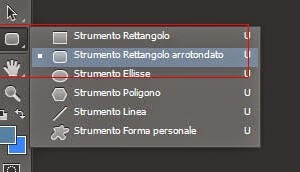
Once selected the tool, in the top tool bar you have to set the radious (the edges roudness) to 30 pixel. I've highlighted this tool at the top-right of the figure below. A note: while drawing the shape, you can keep pressed the SHIFT button, in this way you'll draw a square shape.
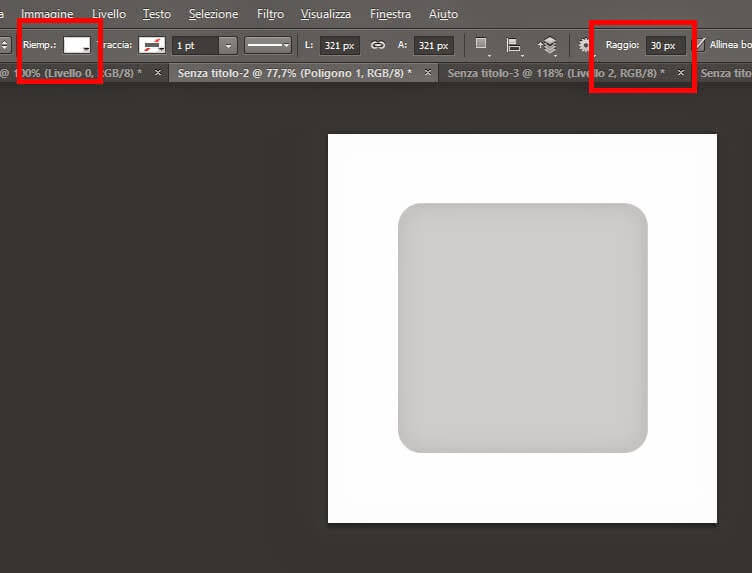
In the previous picture, the top-left highlighted part allows you to change the shape filling colour or the border colour. With shapes you can't use colour bucket to colour, that's because the shape will be rasterized and will lose its shape properties. Now let's add a new element. Let's add a new level and let's add a new shape. From the shapes menu let's select noe the polygon tool. In the top tool bar let's set a number of sides to 3.

Let's set the triangle to the wanted position.

Here is our icon. For customize it a bit more, you can add the level style. But a new article will explain that.


Leave a comment